Debugging in RobotC

Imagine this: you’re coding your autonomous one day.  At the end of the day, it works fine, but it’s incomplete.  One of you coding people says that he will take the code home and finish it.  At your next meeting, you run the updated autonomous and nothing works; not even the stuff that worked last time you met.  How do you fix this without reverting back to the old version?

The answer is simple: debugging.

What is debugging?  Say you have a function that places a ring on a peg for the Ring it Up! game.  After your coding person got his hands on the autonomous, for whatever reason the ring doesn’t get placed.  The code looks like this:

// ex.c

void place_ring() {
  do_stuff_so_the_ring_is_placed();
}

Debugging won’t magically make your program work; it won’t get the ring on the peg. All debugging does is tell you what the robot is doing. You can use debugging tools to see if a function is executing, or you can use it to see what in a program is going wrong. The debugging tool might be something visual, like text or a light, but it can also be auditory, like a noise. Here are some examples of debugging tools:

LEDs attached to your robot that get turned on through software are one debugging tool.

// LED_ex.c

void place_ring() {
  do_stuff_so_the_ring_is_placed();
  if (executed) {
    turn_on_LED();
  }
}

This works very well, but you need to spend quite a bit of money for it.  You would need a prototype board, which is $49.95 from HiTechnic, and LEDs, which are $3.49 per at Radio Shack (assuming you want all the colors).  You’d also need to wire it, which is a lot of work for simple debugging.  Although use of LEDs in this way has their place, it is not the most effective form of debugging.
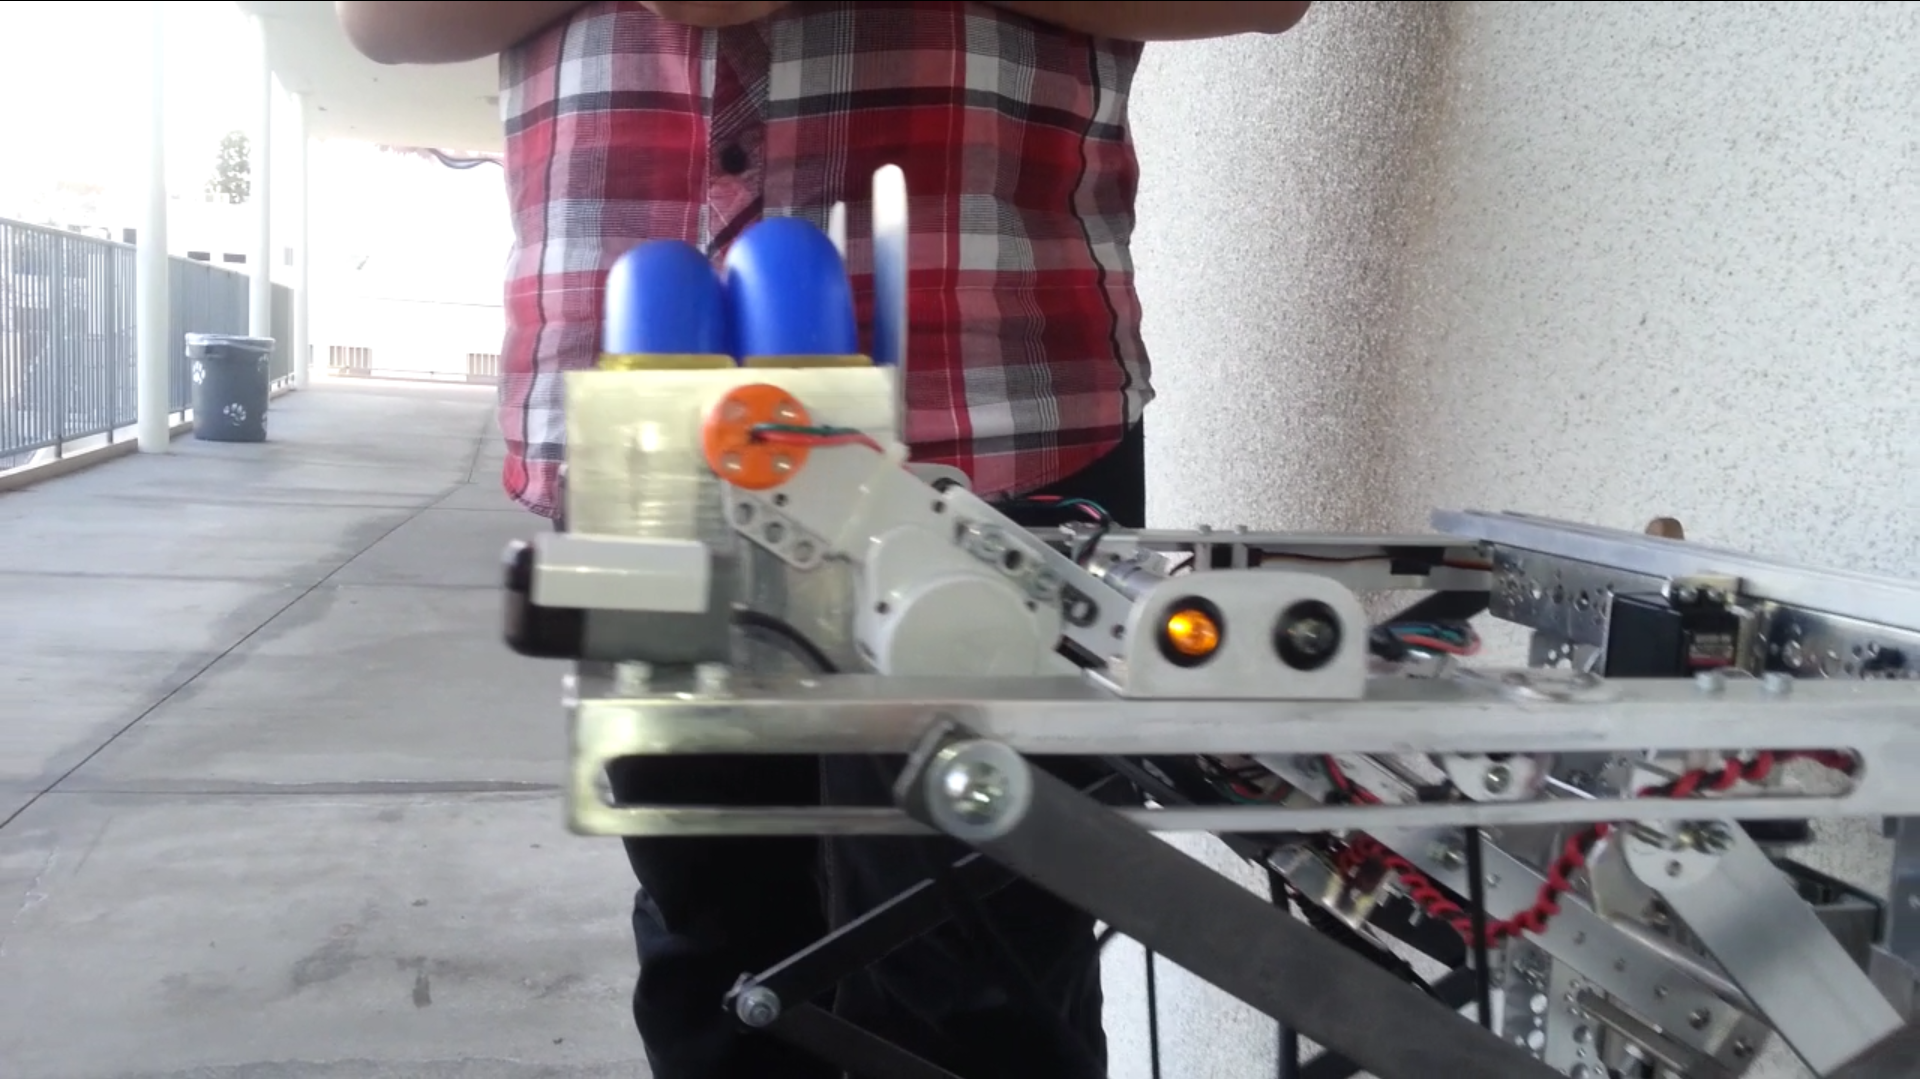
We use LEDs to indicate a sensor in our hand is activated, letting our drivers know we have a weighted ring (although this is not technically debugging)
We use LEDs to indicate a sensor in our hand is activated, letting our drivers know we have a weighted ring (although this is not strictly debugging)

The NXT comes shipped with several noises on it, and the kind people at RobotC have made them available for the debugging process.

// sound_ex.c

void place_ring() {
  clearSounds();
  do_stuff_so_the_ring_is_placed();
  if (executed) {
    PlaySound(soundBeepBeep);
  }
}

A better explanation as to how to use the sound functions is given by the people at RobotC.  This way is very good; you need to spend extra money, since you already have an NXT, and all you really have to do in software is add a couple extra lines of code.  There are drawbacks, though.  When we’re running autonomouses, we’re sharing a room with two or three other teams, and it becomes hard to hear the NXT making the noises.

The NXT comes with an LCD display that RobotC gives functionality to.  It has the advantage over other debugging devices in that it allows you to speak plain English.

// NXT_LCD_ex.c

void identify_IR_column() {
  clearDisplay();
  switch(column) {
    case LEFT:
      column_is(LEFT);
      nxtDisplayCenteredTextLine(1, "on the Left");
    case MIDDLE:
      column_is(MIDDLE);
      nxtDisplayCenteredTextLine(1, "in the Middle");
    case RIGHT:
      column_is(RIGHT);
      nstDisplayCenteredTextLine(1, "on the Right");
  }
}

We used this method for a program that we ran that told us what data our IR sensors were reading.  We ran into problems where we had to duck to see the screen of our NXT, but we were later told that there are ways of viewing the NXT screen from a computer that is plugged in.

The method of debugging that the people who make RobotC recommend is through the debug screen.  The debug stream is a window in the RobotC interface that will display text  given to it with a special function.  It is depicted on the right.

The debug stream is accessed from Robot/Debug Windows/Debug Stream. The steam is shown on the right.

It can be used like this:

// debug_stream_ex.c

void place_ring() {
  do_stuff_so_the_ring_is_placed();
  if (executed) {
    writeDebugStreamLine("It worked");
  }
}

The last method we’ll share is debugging through the preprocessor.

Before we get to the debug method, the preprocessor must be explained.  In C-related languages (C, C++, Java, RobotC), most lines that begin with a pound sign (#) are preprocessor lines.  When you run a program, most of the time things in your program will only be evaluated when your program is running.  A preprocessor directive will be evaluated when your program is compiled.  Take this example:

// preprocessor_ex.c

#include "Autonomous_Base.h"  //http://bit.ly/ZCW5Fg
IRmax_sig(ir_sensor);

When the program is run, the C compiler will fetch Autonomous_Base.h and make it so you can use functions from it.  When the program is later run, it will evaluate IRmax_sig(), a function from Autonomous_Base.h.

There are other preprocessor directives, as well.  You might have seen #pragma before.  For purposes of debugging, we’re going to use #ifndef.

// debugging_with_preprocessor_ex.c

void get_the_ring(bool debug_mode) {
  get_ring();
  if (debug_mode) {
    SOME_PREVIOUS_DEBUG_METHOD();
  }
}

#ifndef _debug

task main() {
  get_the_ring(false);
}

#else

task main() {
  get_the_ring(true);
}

A detailed explanation of the preprocessor is available here. If it seems confusing, that’s because it is.

This debug mechanism is used in combination with others. You have with your functions a bool type for debug mode (shown above) and you say #ifndef _debug, which translates to “if debug is not defined,” and you put below it a main task for when debug mode is off.  You have after the task an #else, which operates like the standard else.  You have then a different main task that has all the debug mode bools set to true.

But when is debug mode defined?  After you hit F5 to send a compiled copy of your code to your robot, a window opens, much like this:

When “Start” is pressed in the Program Debug window, _debug is defined.

Pressing start will define _debug for you.  This isn’t our favorite method, but it does have it’s place.

We hope that you have found this tutorial on debugging helpful and that coding your autonomouses goes smoother.

If you’d like further help debugging, here are a couple links:
RobotC Debugging via Code

Debugging C and C++ Programs

Our Drive Function

Many teams have a drive function like this:

// tank_drive.c

void tank_drive() {
  motor[DriveL] = joystick.joy1y1;
  motor[DriveR] = joystick.joy1y2;
}

And that drive function is good because it only takes up two lines of code, but it’s bad because it’s difficult to use.  It assigns the y-value of the left joystick to the left drive motor and the right drive motor to the y-value of the right joystick.  This makes turning very confusing.

The first priority in writing a drive function should always be make it convenient for the driver.  This is a drive function that we recommend:

// arcade_drive.c

void arcade_drive() {
  motor[DriveR] = joystick.joy1y1 - joystick.joy1x1;
  motor[DriveL] = joystick.joy1y1 + joystick.joy1x1;
}

This is an arcade drive function where the joystick makes the robot behave like a joystick in a video game.  If you push forward on the joystick, the robot goes forward; push the joystick down and to the left, the robot rotates to the left while moving backwards.

This method works very well for us, but even it can be improved. The Logitec controllers employed by FTC do not always center at (0, 0). Sometimes they’ll give some minute value like (2, -1). Although setting your drive motors to that much is unlikely to move your robot, it will try and move you motors to no avail. That’s bad because it puts stress on you motors, which can lead to smoking. Here’s our solution:

// arcade_drive.c

int J1Y1() { return joystick.joy1_y1; }
int J1X1() { return joystick.joy1_x1; }

void abs_tank_drive() {
  int y_pow = J1Y1();
  int x_pow = J1X1();

  if (abs(J1Y1()) < 10) {
    y_pow = 0;
  }

  if (abs(J1X1()) < 10) {
    x_pow = 0;
  }

  motor[DriveR] = y_pow - x_pow;
  motor[DriveL] = y_pow + x_pow;
}

This will be easiest for you drivers and easiest on your motors.

Here’s a video showing the function at work (ignore the trumpeting in the background):

Talking with Finding Blue Moose 5468

We recently contacted Finding Blue Moose FTC team 5468 in regards to how to run team meetings.  Here is what they said:

Hi Fletcher!
It’s great to hear from you. We’re happy to help you out in any way we can. Our team is a little bit different in that we are not affiliated with our high school and run our meetings out of team members basements, garages, and kitchens. (This results in many all nighter style meetings.) Making “To-Do” lists is pretty helpful. Having a list of chores/deadlines is something that usually helps us. We are procrastinators, so having some sort of set deadline can give us the motivation we need to get stuff done. Also, try and make as much progress as you can outside of meetings. (For example, if someone is struggling with programming, their homework is to look up as many videos and tutorials as they can before the next meeting. This will help you keep moving forward!) About how much time do you have a day to spend meeting? How did you rank in San Diego and what sorts of changes do you hope to make before the next event? Have you qualified for World before?
Something that has helped us during competitions is making sure to decorate our pit area as much as we can. It’s impossible to have too much team spirit! This season, because we have so many rookies, we also did a practice run of our judges interview. Some of the veteran members asked our newbies some sample questions we have had in the past to give them a feel for what the judges room would be like. Maybe doing some sort of prep like that can help your team.
Let me know if we can assist with anything else. I could talk about FTC all day!
Thanks,
Chase
Finding Blue Moose
5468
After answering their questions, they followed up with this:
Hi Fletcher,
Glad I could help! I talked with some of my other team mates and we came up with a few more tips for you:
Some things that we have seen teams do before is make a handout about your robot. At the Vermont Championship last weekend, there was a team that passed around pamphlets in the pit area that included notes and information on their design. It was a neat idea. This made it much easier for scouts during the alliance selections.
One thing that our team tried doing at our first two competitions was setting up a Help Station. (This will probably be easy to implement, seeing as your team is hosting.) We had a table set up with basic parts and supplies and a sign out sheet to keep track of it all. (We borrowed this idea from our friends Team 5454 “dent in the Universe.”) We received good feed back from it. Doing something like this can show the Judges your Gracious Professionalism!
Color coordinating your table is a great idea and your interactive video software sounds awesome! Balloons are also a pretty good way to fill up your pit space. Our team also made some backboards highlighting our team members, robot design, and community outreach. You may have seen this on our Facebook page, but we also have a wooden moose that we painted blue and set up in the pit area. We had other teams autograph it throughout the course of the day, which was pretty fun. I’m not sure if there is something simplier than that, that your team could try. But it’s a thought! We also cut our team number out of cardboard so we could hold it up during our matches. That’s a pretty quick and easy way to show spirit.
I didn’t realize this initially, but I have watched some of the videos on the Suit Bots website. Your weighted ring detection system is very cool. Best of luck this weekend.
Let us know if there is anything else we can do,
Chase
Finding Blue Moose
5468

2.25.13- Starting off the week with some safety and CAD

Attendance


  • Hunter
  • Evan
  • Fletcher

Journal


Tasks

  • De-lube tracks
  • Install fenders
  • Start the CAD adventure

Reflections

Evan, Hunter, and Fletcher went to Evan’s house today to work on installing some protective devices for the treads,

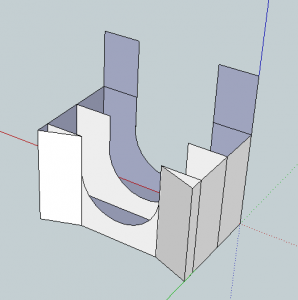
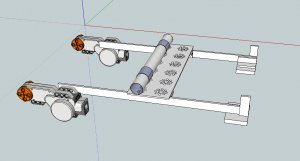
We designed this because of the problem of other robots snapping our tracks during a match and thus immobilizing is for the match. This happened way to many times at the San Diego regional championship. Also we saw some of the other teams using a lot of CAD in their notebook, notably team 4112 The Warriors from Rock Academy, who won the inspire award at the regional. This lead us to believe that we should give it a shot, so Hunter is in the process of converting all the drawings and physical aspects of the robot itself.

NXT mountBucketarm

This was a short meeting, in our week-long journey till the LA regional.

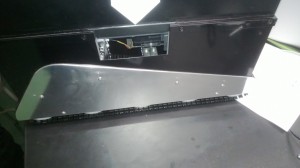
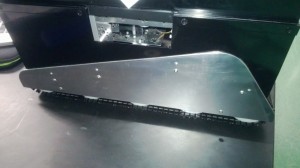
These are what the finished fenders look like.

WP_20130226_003 WP_20130226_005

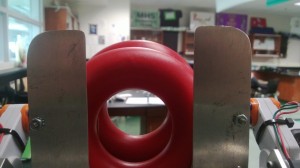
We also slightly elevated the front compartment of our hand to give a better setup for putting rings on the goals.  The ring in this picture that is slightly higher is the one towards the front of the robot.

WP_20130226_004

Finally, we added a metal piece to secure the USB into the Samantha module because we have had trouble with the USB popping out of it again.  We also put the power switch on the front panel of the robot so it is in a more convenient location to turn the robot on and off.

2.20.13- Paying Raytheon a visit

Attendance


  • Hunter
  • Evan

Journal


Tasks

  • Travel to Raytheon
  • Expose ourselves to their public relations dept. to one day ask for a sponsorship
  • Talk to engineers about robotics
  • Take a tour of their facility

Reflections

Today Evan, and Hunter traveled from Monrovia to the distant coastal city of El Segundo to pay Raytheon a visit. We arrived under the impression that there would be an entire quad filled with robotics, as suggested by the provided map. This however was not the case. There was us, and one FRC team 707 still using its basketball throwing mechanism. Never the less we still presented ourselves to the various people that passed us on their way to wherever they were going. A while later, we were invited to come into the cafeteria to have lunch and complete a task that was unknown at the time. As Evan and Hunter enjoyed their non vegetarian burgers. Before they could even finish their food, the Raytheon employees put on a little skit to introduce the days challenge. As we would still find out, we had to build a sterling engine out of little other than a coke can and steel wool. After the allotted time was up we had done pretty well, and were off to the tour of their facilities. The first lab that we went to was the ITF (Integrated Testing Facilities) lab where we found a giant capsule that we can take out all of the air(or close to it) and super heat or super cool the chamber to test how optics will react in space. After this we went to a Calibration lab, this was highly dependent on lasers and other sorts of optics. They had a machine that you could create a 3D CAD model of whatever you want using nothing but lasers.